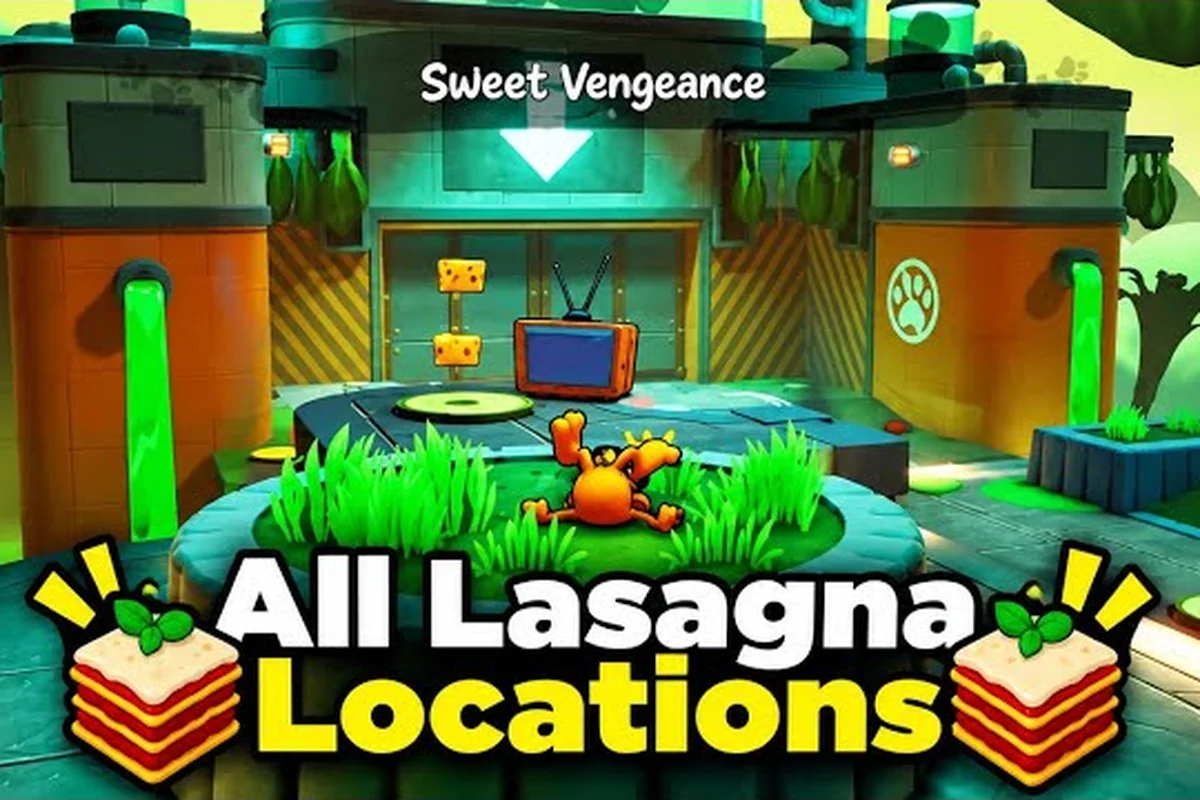
Most players finish their first run of Garfield - Escape from Monday believing the level select is the whole map, then stumble into a world of off-path lasagna, secret Yum-o-meter entries, and detour stages that only reveal themselves to players who look past the main path. This guide maps those out, names the most common skip traps, and breaks down a repeatable snack farming route that keeps your meter topped up without backtracking. According to community walkthrough data collected by Gaming Fight Club, several flagship stages like Lost in the Desert and All Good Things hide as much as a third of their pickups against sand-toned or set-dressing geometry, which is exactly the gap a hidden levels checklist is built to close.
What Counts as a Hidden Level in Garfield - Escape from Monday
The game is more porous than its level select suggests, and the term "hidden level" in this context actually covers three distinct phenomena that players frequently conflate. Understanding the difference is what separates a casual sweep from a 100% Yum-o-meter run, because each one is gated by a different trigger and a different failure mode.
The first category is Off-Path Lasagna Pickups — individual collectibles that sit on detours, behind breakable walls, or above platforms that look like background art until you actually jump toward them. These are not levels, but they are the most common reason a Yum-o-meter refuses to fill even when the player has "finished" a stage. A clean sweep of the main path can still leave three or four of these behind, because their visual weight is often intentionally low.
The second category is Detour Platforms and Sky Loops — sections of an existing stage that are only reachable through a specific wall-jump, dash, or pound input from a particular surface. The world map treats them as part of the parent stage, but the level geometry often treats them as a sealed sub-room with its own pickup cluster. The world 3 collectible route walkthrough covers the densest cluster of these in Barbecue Desert, where two entire sky loops only open if you hit a hidden pound-switch on the underside of a striped awning.
The third category is what most players actually mean when they say "garfield escape from monday hidden levels" — post-game secret stages that only unlock after the main campaign is finished. These are surfaced under a separate node in the level select and never appear in the main world map, so a player who quits at the credits will never see them.
| Hidden Category | How It Is Gated | What It Contains | Telltale Sign |
|---|---|---|---|
| Off-Path Lasagna Pickup | Always present, hard to see | 1–2 Yum-o-meter entries | Plate blends into scenery |
| Detour Platform / Sky Loop | Wall-jump, dash, or pound input | 2–4 pickups + 1 health snack | Background tile repeats |
| Post-Game Secret Stage | Main campaign credits | Full stage with own theme | Appears in level select after 100% |
The mistake that new players make is treating all three as the same kind of "missable content," which leads them to replay stages in a pattern that doesn't actually address the missing layer. The best approach is to run a stage once for the main path, once for the off-path pickups, and once for detour platforms — and only then move on to the post-game content if the rest of the campaign is already complete.
The Most Common Skip Traps and Miss Triggers
"Common mistakes" in Garfield - Escape from Monday are almost always about input timing, not about lacking information. A player who knows where a pickup sits still walks past it because the trigger mechanic is gated behind an action that feels unnatural to a first-time visitor. Below are the four most-reported skip traps from community play sessions, ranked by how often they cost players a Yum-o-meter entry they thought they had already collected.
The first trap is the Camera-Locked Sky Loop in it's Showtime! 1, where a lasagna plate sits one full screen height above the highest visible platform. Players who keep the camera centered on Garfield never look high enough to see the breakable crate that drops him onto the platform, and walk straight into the exit thinking the stage is finished. The fix is to aim the camera up at every vertical transition, not just at bosses.
The second trap is the Visual Mirror Pickup in All Aboard!, where two lasagna plates sit on opposite sides of a window that reflects the train car. Most players read the reflection as the actual plate and skip both, because the parallax feels too clean to be wrong. The fix is to ignore the reflection entirely and walk to the far wall of the car — the real plates sit on the side that does not reflect.
The third trap is the Sandy Floor Pickup in Lost in the Desert, which Gaming Fight Club documents in their Lost in the Desert all lasagna locations walkthrough. The sand-toned platforms hide pickups against similar-colored scenery, so the position has to be learned rather than read. Players who rely on color contrast for collectibles will miss roughly a third of the pickups in this stage on a blind first run.
The fourth trap is the Set-Dressing Door in All Good Things, where a fake background door looks like a closed wall but is actually a one-way shortcut back to the start of the level. Players who assume the door is decoration take the long route around the back of the room and miss the shortcut that would have saved them a full minute. The fix is to interact with every visually distinct prop at least once, even if it looks static.
| Skip Trap | Stage | Trigger Gated Behind | Fix |
|---|---|---|---|
| Camera-Locked Sky Loop | It's Showtime! 1 | Camera angle | Aim camera up at vertical transitions |
| Visual Mirror Pickup | All Aboard! | Reflection recognition | Walk to the far wall, ignore mirror |
| Sandy Floor Pickup | Lost in the Desert | Color contrast | Learn the position, not the color |
| Set-Dressing Door | All Good Things | Assumption that prop is decoration | Interact with every distinct prop |
If the aim is to combine the avoidance of these traps with a faster pace through the main path, the pro tips checklist pairs well with the trap table above, because the pro-tips page is structured around first-hour habits rather than per-stage routes. Players who front-load the trap awareness tend to finish the campaign with a higher Yum-o-meter average than players who try to clean up after the fact.
The Best Snack Farming Route for Early Game
Snack farming in Garfield - Escape from Monday is not a side activity — it is the engine that drives health sustain, mid-stage revives, and the post-game access to the longer boss rush. Players who treat snacks as a passive reward end up understocked for the boss checkpoints, and then they discover that the boss checkpoints do not refill snacks on entry. The early-game snack farming route below is built around the Yum-o-meter refill mechanic, which returns a fixed amount of snack currency every time the meter hits a specific threshold during a stage.
The core loop is to pick the shortest stage in a given world, run it as fast as possible while still collecting the off-path pickups, and then reset. The shortest stage in World 1 is It's Showtime! 1, which can be cleared in roughly 90 seconds with a clean route and the camera discipline described above. The shortest stage in World 2 is All Aboard!, which trades a longer horizontal run for a tighter vertical climb, and clears in about 110 seconds with both the mirror pickups collected. World 3's shortest is Lost in the Desert, which is the longest of the three at about 150 seconds, but it also returns the highest snack yield because of the sand-toned platform cluster.
The first hour of farming should be spent on It's Showtime! 1, because the stage's clean geometry makes it the easiest place to practice the camera discipline that the other two stages also require. Once the player can clear It's Showtime! 1 without missing a pickup, the same muscle memory transfers cleanly to All Aboard! and Lost in the Desert, and the total farming time per cycle drops noticeably.
| Stage | Approx. Clear Time | Snack Yield | Best For |
|---|---|---|---|
| It's Showtime! 1 | ~90s | Lowest of the three | Learning the camera discipline |
| All Aboard! | ~110s | Medium | Mid-game Yum-o-meter refills |
| Lost in the Desert | ~150s | Highest of the three | Late-game snack stock for boss rush |
A common mistake that undermines the farming route is to backtrack to a stage the player has already finished instead of restarting it. Backtracking is slower than a clean reset because the player has to wait for the respawn animation, and the snack yield is the same. The world bosses reference is a useful pairing for this section, because it shows how the snack stock at the end of a farming cycle translates into the boss checkpoint entry — and players who arrive at a boss with a low stock are usually the ones who tried to "save time" by backtracking.
How to Stock Up Fast Without Missing the Hidden Levels
The tension between snack farming and hidden level discovery is real, because both reward replay, but the optimal route through a stage is different for each goal. A farming run wants the shortest path with the highest pickup density. A hidden level run wants every detour, every wall-jump, and every pound-switch. Trying to do both in a single pass is the single most common reason a player finishes a run with neither goal achieved.
The practical solution is to split the run into two passes per stage. The first pass is the farming pass — clear the stage on the shortest path, ignore the detours, and reset as soon as the Yum-o-meter fills. The second pass is the completion pass — replay the same stage, this time deliberately taking every detour, every sky loop, and every pound-switch. The second pass is usually shorter than the first because the player is no longer making decisions, and the two-pass total is faster than a single all-in-one pass would be.
A useful heuristic for the completion pass is to prioritize vertical detours over horizontal ones, because vertical detours are more likely to contain a sky loop or a hidden pound-switch, while horizontal detours are more likely to contain a single pickup that does not gate anything else behind it. This heuristic is not perfect — the set-dressing door in All Good Things is a horizontal detour that is worth a lot of saved time — but it is a good tie-breaker when the player is choosing between two detours in the same room.
| Pass | Goal | What to Take | What to Ignore |
|---|---|---|---|
| Farming pass | Yum-o-meter refill | Shortest path, easy pickups | Sky loops, hidden switches |
| Completion pass | Hidden level discovery | Every detour, every wall-jump | Time pressure, exit shortcuts |
Players who internalize the two-pass split also tend to finish the main campaign with a fuller Yum-o-meter than players who try to do everything in a single run, because the single-run approach forces compromises that the two-pass approach avoids entirely. The two-pass split is also what unlocks the post-game secret stages, which only appear once the Yum-o-meter is full across a certain percentage of the main campaign. Without the two-pass discipline, the post-game content remains invisible even to players who technically cleared every stage.
Common Mistakes That Cost Players the Hidden Levels
The pattern of common mistakes in the hidden level hunt is consistent enough across community reports that it can be summarized in a short list. Most players who fail to find the hidden levels do not fail because the levels are too well hidden — they fail because they are repeating the same five errors in stage after stage. Fixing these errors is the difference between a 60% Yum-o-meter completion and a 100% completion, and it is also the difference between a player who sees the post-game content and a player who finishes at the credits.
The first error is ignoring the camera angle. The camera is positioned to frame Garfield, not the pickups, and the player has to actively redirect it toward the edges of the screen to see most off-path pickups. Players who never touch the camera end up walking past plates that are technically in their line of sight but outside their focus.
The second error is treating reflections as real geometry. The Visual Mirror Pickup in All Aboard! is not the only instance — reflections appear in two more stages in the campaign, and players who learn the wrong pattern early carry that mistake into the rest of the run.
The third error is prioritizing speed over coverage on a first run. Speedrunning a stage on the first visit is a trap, because the player has not yet learned which props are interactive and which are decoration. A first run should be slow and exhaustive; only the second run should be fast.
The fourth error is skipping the post-credits level select. Players who close the game at the credits never see the post-game stages appear, because the new nodes only become visible after the level select returns from the credits sequence. Restarting the game from the main menu is not enough — the player has to return to the level select from the title screen, and then scroll to the bottom of the node list.
The fifth error is backtracking instead of resetting. Backtracking is slower, drains more health from the contact damage, and does not yield a higher snack count. The reset is always faster.
| Mistake | Where It Costs the Most | Fix |
|---|---|---|
| Ignoring the camera angle | Every vertical stage | Aim up at every transition |
| Treating reflections as real | All Aboard! + 2 later stages | Walk to the far wall |
| Speedrunning on first run | Every first visit | Slow and exhaustive pass first |
| Skipping post-credits select | All post-game stages | Return to level select from title |
| Backtracking instead of resetting | Every farming cycle | Use the reset, not the return path |
Players who fix all five of these errors tend to finish the campaign with a higher Yum-o-meter than players who fix only some of them, because the errors compound. A player who ignores the camera and trusts reflections will miss about half the off-path pickups, and the cumulative effect is enough to lock the post-game content entirely. The beginner controls and movement guide pairs well with the error table above, because several of the fixes depend on inputs that beginners have not yet internalized, and the movement page documents each input with its specific use case.
Frequently Asked Questions
What are the hidden levels in Garfield - Escape from Monday?
The hidden levels in Garfield - Escape from Monday fall into three categories: off-path lasagna pickups that are always present but visually subtle, detour platforms and sky loops that require a specific wall-jump or pound input, and post-game secret stages that only unlock after the main campaign credits. According to community walkthrough data, the post-game content is the easiest to miss because the new nodes only appear in the level select after the credits roll, not on a fresh load from the title screen.
How do I unlock the post-game secret stages?
You need to clear the main campaign and then return to the level select from the title screen, not from a save file loaded mid-game. The new nodes appear at the bottom of the stage list, sorted by world. A full Yum-o-meter across the main campaign is required for the densest cluster, and partial completion unlocks only a subset.
What's the fastest snack farming route in early game?
The fastest early game snack farming route in Garfield - Escape from Monday is a loop through It's Showtime! 1, All Aboard!, and Lost in the Desert, in that order. The loop takes roughly 350 seconds for a full cycle with a clean run, and yields enough snack currency to fully stock the boss checkpoint inventory after two cycles. Resetting between stages is faster than backtracking, because the respawn animation is shorter than the return path.
Why does the Yum-o-meter refuse to fill even after I collect every visible pickup?
The Yum-o-meter refuses to fill because off-path pickups are designed to blend into the scenery, and the meter counts them the same as the visible ones. Players who collect every visible pickup but ignore the camera discipline at vertical transitions will still miss a third of the off-path pickups, and the meter will register the gap. The fix is to aim the camera at every vertical transition, not just at bosses, and to interact with every visually distinct prop at least once per stage.
Is it worth replaying stages for the hidden levels on a first playthrough?
Yes, because the post-game content is gated on the Yum-o-meter completion percentage, and a player who skips the replay on a first playthrough will lock themselves out of the post-game content even after finishing the campaign. The two-pass split — one farming pass and one completion pass per stage — is faster than a single all-in-one pass, and it is the only way to finish the main campaign with a 100% Yum-o-meter without burning out on a single stage.