Collectibles
Garfield Escape from Monday collectibles guide covering all lasagnas per level, the 10,000 snacks grind, and furniture pieces for Jon's house decorations.
Introduction
This collectibles category covers three linked progression systems in Garfield Escape from Monday: lasagnas tracked by the Yum-o-meter, snacks counted toward the total-snacks achievement, and furniture pieces that turn Jon's house into a customizable hub. Lasagnas sit on visible platters or hide behind breakables, routes, and costume-gated areas, so a clean run per level feeds all-lasagna achievements like "Bottomless Stomach." Snacks are tiny floating pickups that drop from defeated hazards, jars, and furniture rewards, and stacking 10,000 unlocks "Not What the Doctor Ordered." Furniture is bought from an in-game shop using snacks, then placed freely in Jon's living room. Side Levels and Time Attack runs are the most reliable places to top up snack totals. Mastering these loops lets 100 percenters chase the rarest community trophies without wasting hours on guesswork.
Collectibles Quick Reference
| Collectible | Where it appears | Main use | Tracking tip |
|---|---|---|---|
| Lasagnas | Main levels across all 3 worlds | Fill Yum-o-meter for all-lasagna achievements | Re-enter levels after a costume to reach hidden platters |
| Snacks | Levels, Side Levels, furniture rewards | Currency for Jon's house shop | Grind Side Levels in Time Attack for fast stacks |
| Furniture | Jon's house shop | Decoration and snack refund rewards | Buy in batches; rearranging is free |
| Costume-gated pickups | Turkey, surfer, and cowboy routes | Reach high or hidden lasagnas and snacks | Switch costumes at level start or mid-level markers |
| Side Level clears | Optional Time Attack stages | Repeatable snack farming and replays | Restart immediately to bank runs |
Collection Routes
Yum-o-meter Lasagnas
Per-level lasagna gauge feeding the all-lasagna achievements like Bottomless Stomach across every themed world in the game.
Snack Grinding Path
Collectible currency route toward the 10,000-snack Not What the Doctor Ordered achievement and full house decoration funds.
Furniture Pieces
House decoration collectibles spent to redecorate Jon's house with permanent cosmetic items unlocked through level exploration.
All-Lasagna Runs
Per-world Yum-o-meter completion strategies for Vegetable Nightmare, Sweet Kingdom, and Barbecue Desert to fully clear the gauge.
Hidden Snack Run
A focused 10,000-snack grinding route using Time Attack, costume swaps, and roly-poly ball chains across all Side Levels.
Core Mechanics
Lasagnas are picked up by walking or rolling into them; each one increments the Yum-o-meter for the level you are currently in, and finishing with the meter full counts toward all-lasagna achievements such as "Bottomless Stomach" and the per-theme awards. Snacks behave like a universal currency, dropping from jars, kitchen items, defeated hazards, and post-level furniture rewards, and they also appear in hidden paths gated by the turkey, surfer, and cowboy costumes. Furniture is bought in Jon's house with a snack cost listed on each item, then placed by selecting a tile and confirming; rearranging is free, so the only real cost is the initial purchase. Time Attack on Side Levels is the intended grind spot for snack totals because replays stack quickly and route knowledge compounds across attempts.
Advantages
Hunting collectibles turns a short platformer into a long-term completion project, adding replay value well beyond the main story. Going after every lasagna trains route memory and rewards clean platforming, so players who chase 100 percent collectibles usually finish with sharper Time Attack times and a real shot at the rarest Steam trophies, which currently sit below half a percent of the player base. Snack farming feeds two goals at once: it funds every furniture piece you want, and it gates milestone achievements like "Not What the Doctor Ordered." Decorating Jon's house is a soft sandbox reward, since placing furniture has no gameplay penalty and lets you personalize a space tied to the story. Together these loops give completionists dozens of hours of optional but clearly telegraphed goals.
Challenges
The biggest caveat is that exact per-level lasagna counts are not officially published, so any guide claiming a level has a precise number of lasagnas is community-sourced and may shift after patches. Snacks can also be hard to track without a visible running total in every screen, which makes blind farming feel slow. The 10,000-snack achievement is real, but no developer-confirmed fastest route exists, so suggestions for grinding Side Levels come from player reports rather than official guidance. Furniture prices are not fully datamined yet, meaning a buy-everything plan can stall if the economy shifts. Boss order remains community-reported, and any collectible tied to a post-boss area could move. Finally, the all-lasagna achievements may require multiple passes per level after patches, so older videos can be outdated.
Frequently Asked Questions
How do I unlock the Not What the Doctor Ordered achievement in Garfield Escape from Monday?+
What is the Yum-o-meter and how do I max it in every level?+
How does the house decoration system work in Jon's house?+
What are the rarest achievements in Garfield Escape from Monday?+
Quick Tips
Use the roly-poly ball form whenever you enter a tight cluster of snack pickups, because the rolling hitbox scoops up items along a wide arc and saves manual jumps. Pair it with the turkey costume glide to reach floating snacks in Vegetable Nightmare without wasting a wall-climb chain, and you will cut several minutes off any per-level snack route.
Treat Side Levels as your primary snack farming ground rather than the main campaign. Their shorter layouts reset quickly in Time Attack, and snack density stays high even on replays. Stack a full run of every Side Level in one sitting, then check your total against the 10,000-snack Not What the Doctor Ordered target to see your remaining gap.
Always clear the Yum-o-meter before leaving a level, even if you plan to replay it. The gauge persists, but missing one lasagna forces a return trip through harder sections later. Use the cowboy costume lasso to swing across gaps where lasagnas sit on isolated platforms, and check hidden rooms behind breakable walls in Sweet Kingdom.
Track furniture pieces with a separate checklist because they do not show up on the Yum-o-meter or the snack counter. Many sit in off-the-beaten-track alcoves reached only via wall-climb or a surfer costume water-surface crossing in later worlds. Map each themed world's furniture zones before starting a 100 percent collectibles run, and you will avoid painful backtracking through completed main levels later in the campaign.
Featured
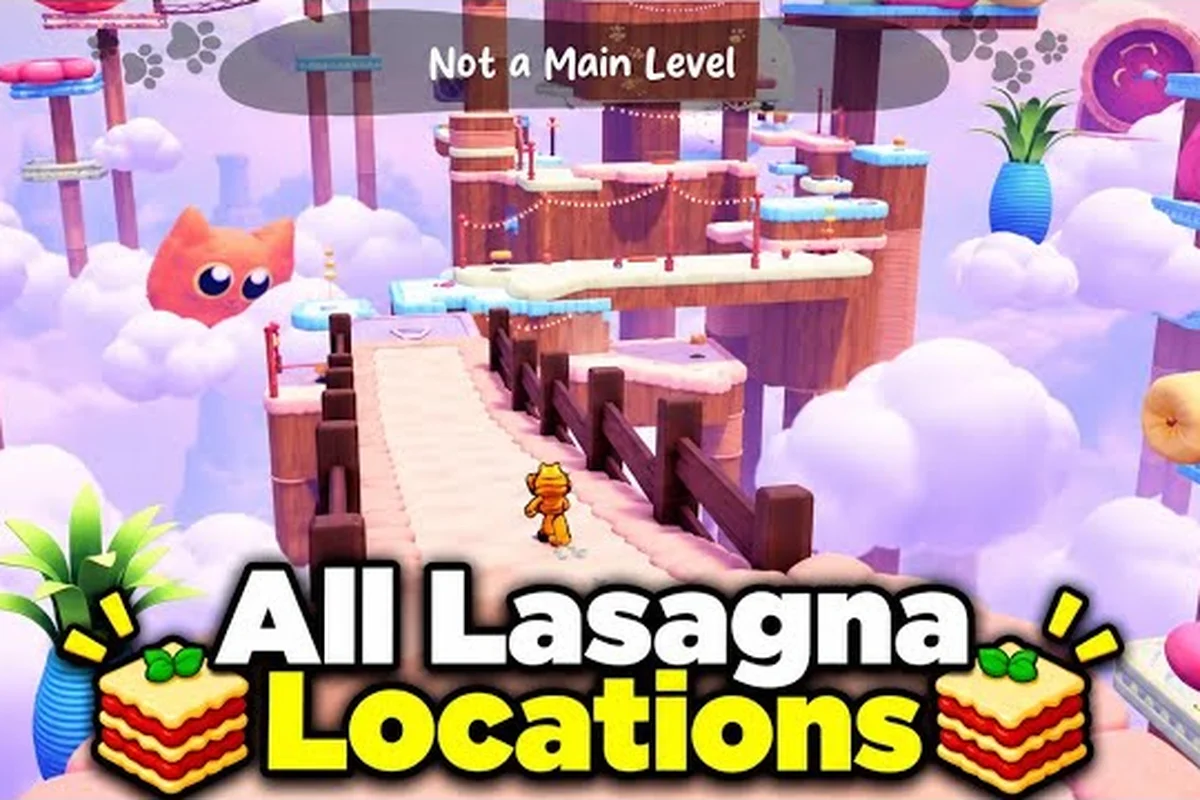
Garfield - Escape from Monday 1 Minute Roly Poly Timer Tips
Crush the garfield escape from monday 1 minute roly poly clock with tight Yum-O-Meter loops, optimal roll chains, and shortcut routes through the timer stage.
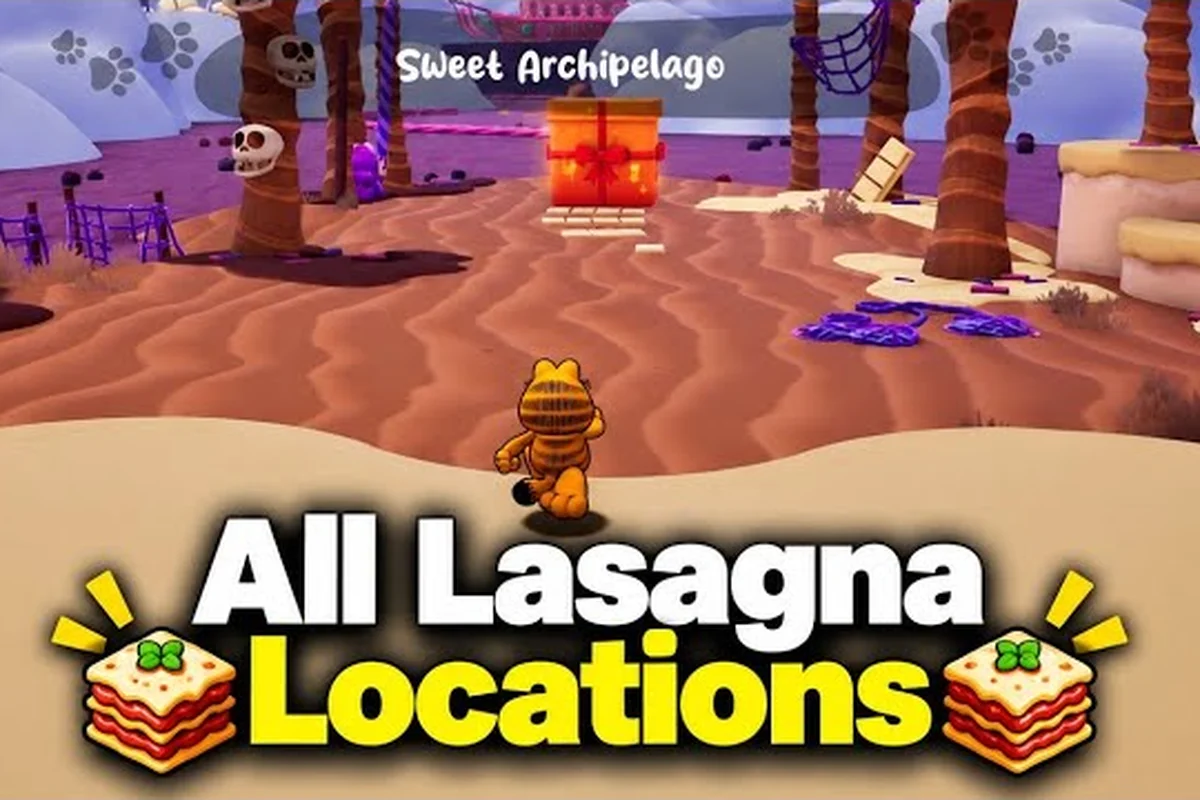
Garfield - Escape from Monday Collectibles Guide
Hunt every garfield escape from monday collectibles entry, from lasagna slices to snack stashes, with routes that hit 10,000 snacks fastest.
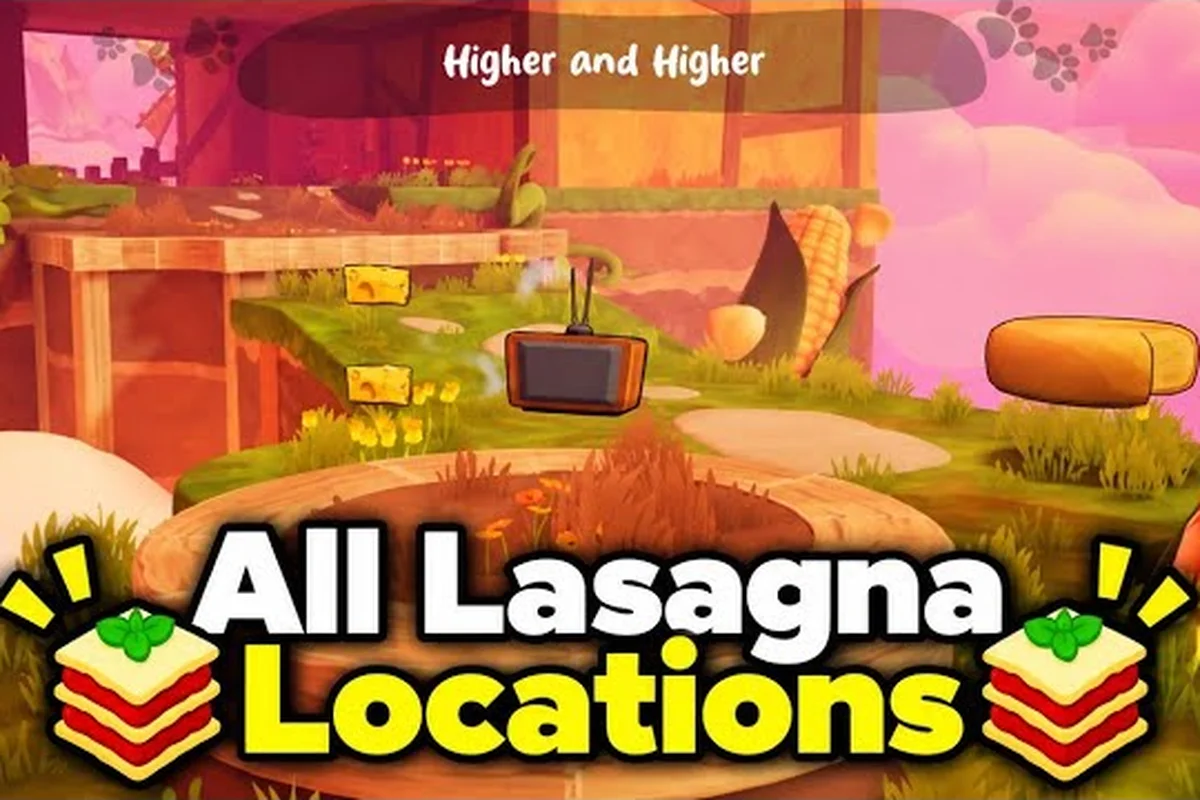
Garfield - Escape from Monday Collectible Checklist: Every Pickup
Run the full garfield escape from monday collectible checklist with corn shot bounce chains, lasagna routes, and achievement flags that finish the set.
All Articles
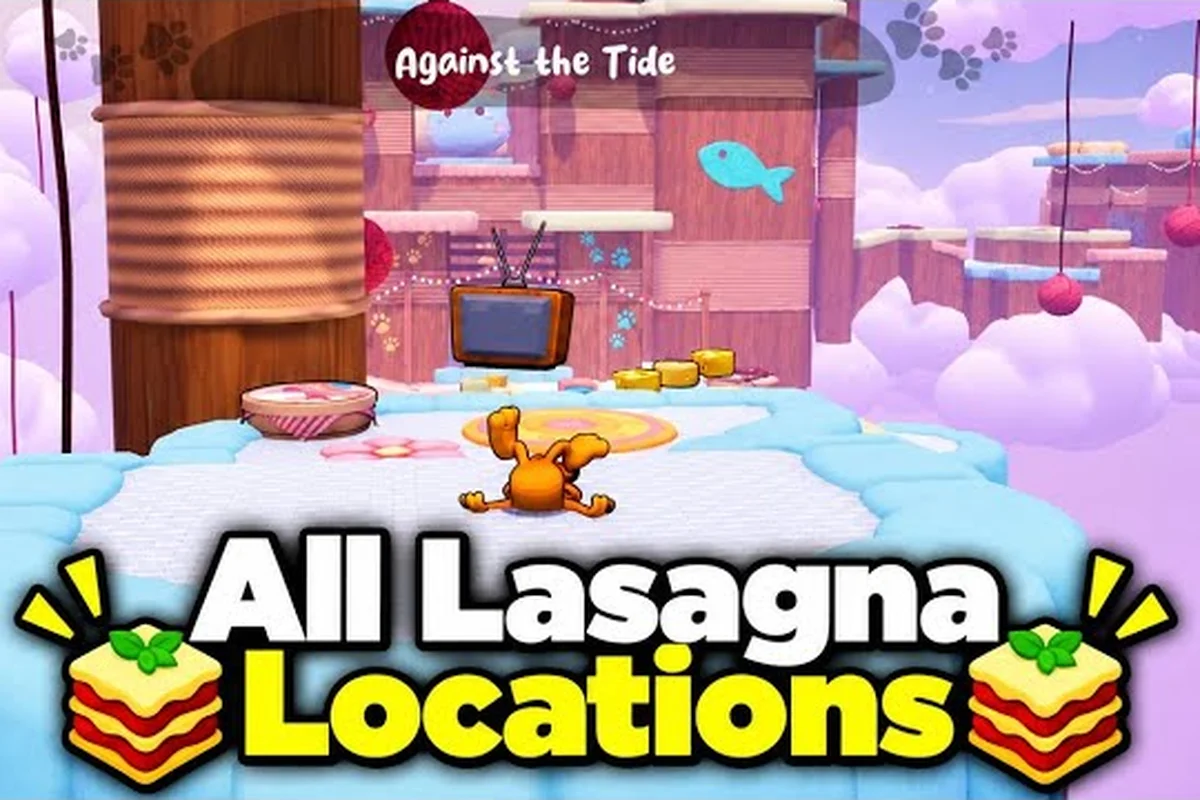
Garfield - Escape from Monday Furniture Locations in Jon's House
Pin down every Garfield - Escape from Monday furniture location tied to Jon's house upgrades, then match each piece to the room it unlocks as you play.
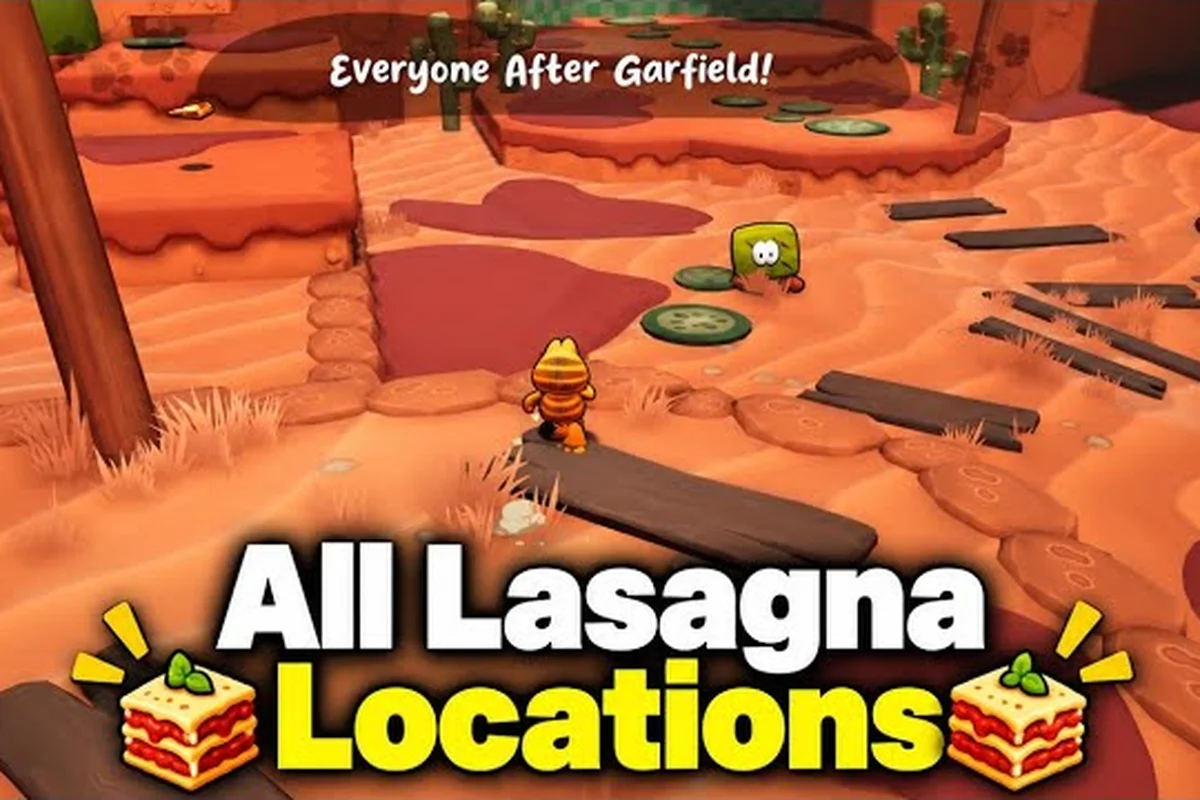
Garfield - Escape from Monday Food Pickups: Lasagna Locations
Track every Garfield - Escape from Monday food pickups spot, hit 100% collectible percentages, and chase the rolling cat achievement with per-level lasagna routes.
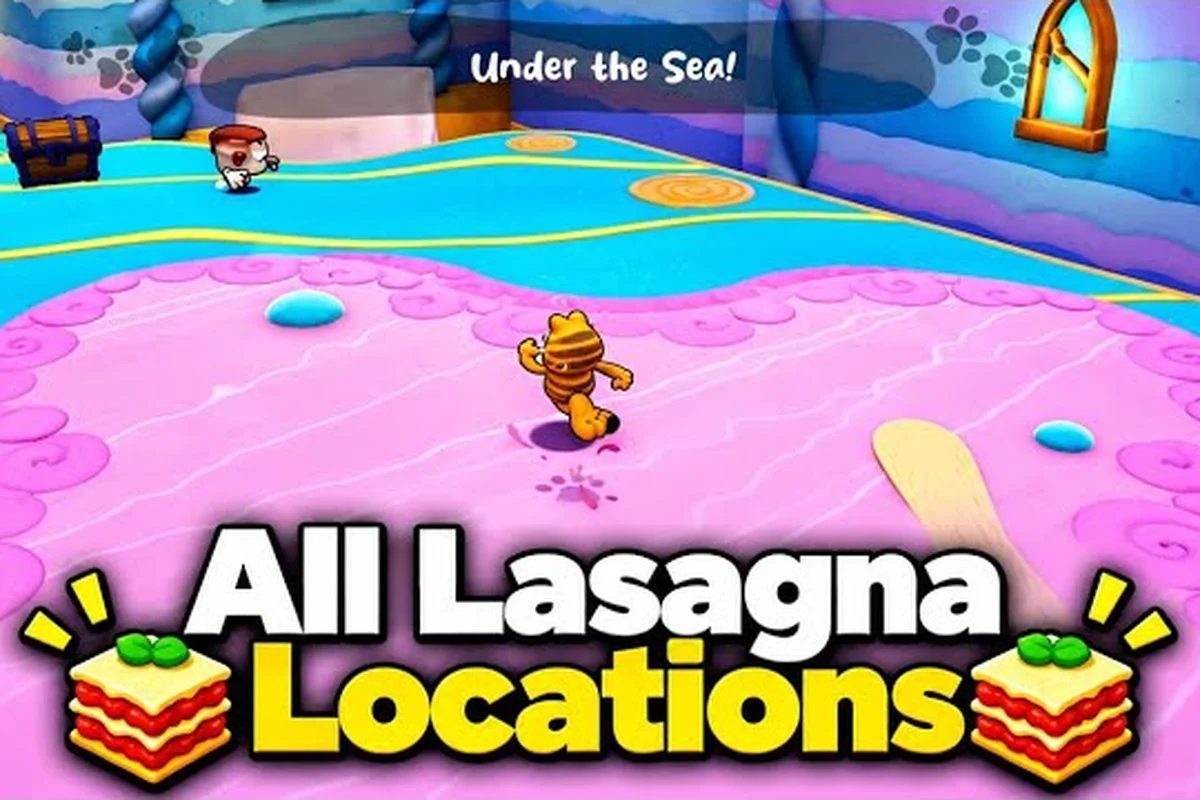
Garfield - Escape from Monday The Scales Cant Take the Strain
Learn how to trigger The Scales Cant Take the Strain achievement in Garfield - Escape from Monday, which rewards a complete Yum-o-meter grab on one level.