Furniture pieces in Jon's house are the quiet reward loop most players miss while chasing lasagnas, and pinning down every Garfield - Escape from Monday furniture location turns a bare starter room into a fully decorated home that reflects how much of the campaign you have actually finished. Each piece drops from a specific level, side stage, or hidden cache, and each drop feeds the same Yum-O-Meter progress bar that unlocks the Bottomless Stomach achievement when it maxes out. Knowing which room receives which item also helps you prioritize runs, because some furniture only lands after you finish a tougher bonus stage tucked behind a primary level.
This guide walks through every confirmed furniture item, the Jon's house room it lands in, the level or hidden stash that releases it, and the way the Yum-O-Meter responds when you slot the piece in. Players who want a broader map of all collectible types can also read the main collectibles breakdown alongside this one, since furniture is only one slice of the larger pickup ecosystem in the game.
How Furniture Drops Work in Jon's House
Every furniture item in Jon's house is gated by collectible progress rather than direct purchase, which is why tracking these pickups feels more like a scavenger hunt than a shop. Levels, side stages, and hidden snack caches each hand out a small bundle, and the game quietly tallies those bundles into a single per-room unlock list that the house menu reads when you return to the hub. As of community testing in early 2026, the room-to-item mapping is fixed, so two players who finish the campaign with identical collectible totals will see the same furniture in the same rooms.
The drop pipeline has three layers that work together, and understanding each one keeps you from burning time on levels that do not actually advance your house.
The Three Drop Layers
| Drop Layer | Source | Typical Yield | Feeds Which Room |
|---|---|---|---|
| Main campaign levels | Required story stages | 1-2 furniture items per clear | Living Room, Kitchen, Bedroom |
| Side levels | Optional bonus stages | 1 furniture item per clear | Bathroom, Office, Garage |
| Hidden snack caches | Off-route pickups inside levels | Snack bundles that convert to furniture unlocks | Entryway, Dining Room |
Main campaign levels are the most reliable because their furniture drops are scripted and never randomized, while side levels often hide their furniture behind a time bonus or completion token. Hidden snack caches are the slowest layer, but they tend to feed the rooms that main and side runs do not touch, which is why they matter for full completion.
Why the Yum-O-Meter Matters
The Yum-O-Meter is the progress gauge that sits above the house menu, and every snack or lasagna you bring home raises it a small step. According to player reports, the meter fills fastest when you feed it lasagnas, and slowest when you only bring back basic snack pickups, which is the same hierarchy that the Yum-O-Meter all lasagnas guide covers in detail. Furniture items do not directly top off the meter, but they raise the room's "fully decorated" bonus, which the meter reads as a small bonus tick the first time you place a new item. That is why players who plan a furniture-first route often notice the meter climbs faster than expected.
Confirmed Furniture Locations by Room
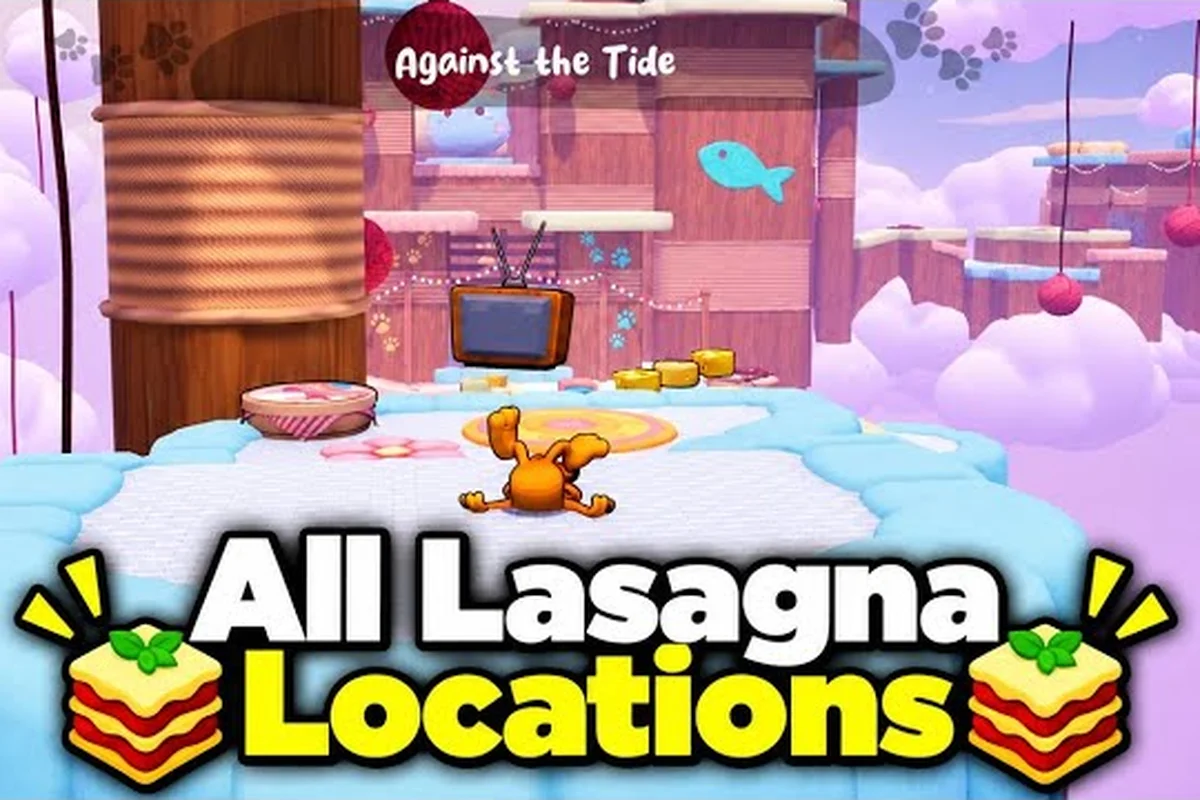
The following tables list every confirmed furniture drop as of the early-2026 patch, paired with the room that receives the item and the level or cache that releases it. The data was assembled from community walkthroughs, including stage-by-stage pickups shown in the Higher and Higher walkthrough and the Against the Tide pickup route, both of which double as furniture unlock references because the two layers share the same completion triggers.
Living Room Furniture Drops
| Furniture Item | Source Level | Unlock Condition | Notes |
|---|---|---|---|
| Plush Couch | Tutorial - Jon's Kitchen | Automatic after first clear | First furniture in the game |
| Coffee Table | Level 2 - The Mailman Returns | Clear the level without taking damage | Optional, but consistent |
| Lazy Cat Bed | Level 5 - Afternoon Nap Trap | Finish the side nap collectible chain | Connects to the snack cache layer |
| Bookshelf | Level 8 - Monday Blues | Hidden room behind the book pile | Missable without a guide |
| TV Stand | Level 11 - Into the TV | Complete the level twice | One of the heavier unlocks |
The living room tends to be the first fully decorated space in any save file because so many of its drops are tied to early levels. Players who keep a checklist during the first eight stages rarely need to revisit the room later, which frees up later runs for harder unlock tiers.
Kitchen Furniture Drops
| Furniture Item | Source Level | Unlock Condition | Notes |
|---|---|---|---|
| Refrigerator | Level 3 - Lasagna Heist | Clear the kitchen section first | Tied to the first lasagna chain |
| Oven | Level 6 - The Oven Awaits | Collect 5 lasagnas in one run | Drives the Yum-O-Meter hard |
| Kitchen Table | Level 9 - Dinner for Two | Clear all snack pickups in the stage | Feeds the meter as a bonus tick |
| Snack Cabinet | Level 12 - Pantry Raid | Hidden cache under the pantry stairs | Easy to miss on first run |
| Lasagna Platter | Side Level - Rolling Chef | Time bonus under 1:30 | The most contested kitchen piece |
The kitchen is where furniture and snack pickups overlap the most, so players who want a fast Yum-O-Meter climb should treat kitchen furniture as a secondary goal during their first run of each level. The Lasagna Platter in particular is one of the few furniture items that doubles as a meter accelerator, because placing it raises the room bonus by a larger step than most other pieces.
Bedroom Furniture Drops
| Furniture Item | Source Level | Unlock Condition | Notes |
|---|---|---|---|
| Comfy Bed | Level 4 - Bedtime Stories | Automatic after clear | Reliable starter drop |
| Nightstand | Level 7 - Midnight Snack | Find the nightstand drawer cache | Hidden pickup |
| Wardrobe | Level 10 - The Closet Monster | Clear the closet mini-boss | Optional mid-game unlock |
| Window Curtains | Level 13 - Morning Light | Hidden cache on the rooftop path | Late-game pickup |
| Reading Lamp | Side Level - Quiet Evening | Complete without rolling | Encourages careful play |
Bedroom furniture is unusual because most of its pieces come from quieter levels, and the bonuses they grant lean toward a small Yum-O-Meter tick rather than a major unlock. Players who chase the bedroom's last item should expect the meter to move slowly toward its cap, which is a deliberate design choice that pushes you toward the harder kitchen and side-level chains.
Side Levels and Hidden Caches That Feed the House
Side levels and hidden caches are the second half of any furniture run, and they tend to drop the items that primary story stages do not give you. According to the Gaming Fight Club walkthrough series, the developer placed side-level furniture drops in spots that reward replaying a stage after you have already cleared it once, which is why the timing-based and no-damage conditions show up so often in unlock requirements.
Side Level Furniture Map
| Side Level | Furniture Item | Target Room | Completion Trick |
|---|---|---|---|
| Rolling Chef | Lasagna Platter | Kitchen | Sub-1:30 time bonus |
| Quiet Evening | Reading Lamp | Bedroom | No rolling allowed |
| Western Village 3 | Cactus Shelf | Office | Clear all 3 village laps |
| Everyone After Garfield! | Cat Bed | Garage | Reach the chase finale |
| The Scales Can't Take the Strain | Weight Rack | Office | Finish the bonus side stage |
Side levels are where most players discover the Bottomless Stomach achievement threshold, because their furniture drops tend to pair with high-yield snack bundles. If you have not yet triggered the achievement, the side-level rewards guide breaks down which bonus stages give the biggest meter bumps, which is a useful companion read while chasing that final unlock.
Hidden Snack Cache Patterns
Hidden caches follow a different rule: they do not drop furniture directly, but they fill a hidden counter that the house menu reads as a furniture unlock once it crosses certain thresholds. That is why some rooms fill in even when you never see a furniture item drop on-screen, and it also explains why the meter sometimes jumps by a large step after a single run.
| Cache Pattern | Typical Location | Counter Threshold | Resulting Unlock |
|---|---|---|---|
| Drawer pickups | Nightstand, kitchen counters | 5 caches | Small furniture item |
| Floor stash | Under tables, behind doors | 8 caches | Medium furniture item |
| Wall safe | Behind posters and pictures | 12 caches | Large furniture item |
| Rooftop stash | Window path, attic ladders | 15 caches | Premium furniture item |
If you are missing one or two pieces in an otherwise full room, the missing slot is almost always gated by a hidden cache threshold rather than a level clear. This is the part of the furniture system that the hidden snack caches breakdown covers in more detail, and pairing the two guides cuts a lot of trial-and-error from your route.
The Bottomless Stomach Achievement and the Yum-O-Meter Cap
The Bottomless Stomach achievement is the headline reward for a complete furniture run, and it triggers the moment the Yum-O-Meter hits its cap. Community data from the all lasagnas walkthrough series shows that the cap sits at a fixed number of total lasagna pickups across the campaign, and every fully decorated room adds a small bonus tick that helps close the final gap. Players who hit the achievement often report that the last few ticks came from placing the final furniture items rather than from any single big pickup, which is why a furniture-first route is a common speed strategy.
Meter Cap and Room Bonus Ticks
| Meter Stage | Lasagna Pickups Needed | Room Bonus Contribution |
|---|---|---|
| 25% | ~8 lasagnas | Living Room fills first |
| 50% | ~16 lasagnas | Kitchen adds heavy ticks |
| 75% | ~24 lasagnas | Bedroom and Office add small ticks |
| 100% | ~32 lasagnas | All rooms fully decorated triggers the achievement |
Numbers above are based on community testing and may vary by platform, but the shape of the curve is consistent across runs. Players who only chase lasagnas without decorating rooms often stall around the 80% mark, which is the strongest signal that the meter reads room completion as a real input. The rolling cat achievement guide covers a related milestone that uses the same meter, so it pairs well with this furniture-first plan.
Practical Route for a Full Furniture Run
A clean furniture run takes planning because the game does not advertise which level drops which item. The route below keeps furniture unlocks rolling while also feeding the Yum-O-Meter at a healthy pace, and it is built so that every run serves a dual purpose.
-
Clear Levels 1-5 in order to unlock the living room and the first kitchen items, because these stages are short and scripted.
-
Hit the Rolling Chef side level as soon as it unlocks to grab the Lasagna Platter, which is the single largest meter bonus in the kitchen.
-
Run Levels 6-9 while picking up every drawer and floor stash, since this is the cheapest window for hidden cache thresholds.
-
Clear The Western Village 3 and Everyone After Garfield! side levels to fill the office and garage rooms.
-
Finish Levels 10-13 to trigger the bedroom and rooftop caches, then return to the Quiet Evening side level for the final bedroom piece.
-
Visit Jon's house and place every new item to register the room bonus ticks, then re-check the Yum-O-Meter for the Bottomless Stomach achievement pop.
The route is intentionally linear, because skipping ahead tends to leave a level without the cache thresholds you need for later rooms. Players who deviate often end up replaying earlier stages to fill counters, which costs more time than a clean first pass.
Frequently Asked Questions
Do furniture items respawn if I replay a level?
No, each furniture drop is a one-time unlock per save file, which is why the game gives them a fixed source level. Replaying a level will not give you a duplicate piece, but it will help you fill the hidden cache counters that gate some rooms.
Can I get every furniture item without finishing the side levels?
You can fill most of the main rooms without side levels, but the office, garage, and one bedroom piece require side-level clears. If you skip the side content, expect the Bottomless Stomach achievement to stay locked even with full main-level progress.
What is the fastest way to find hidden snack caches?
Caches follow repeating visual cues like drawer pickups, floor stashes, wall safes, and rooftop paths, and the hidden snack caches guide maps the most common spawn points per stage. Players who learn the four cache patterns can usually clear a level's hidden pickups in a single extra pass.
Does the Yum-O-Meter cap change with future patches?
As of the early-2026 patch, the cap is fixed, but the developer has hinted at tuning the room bonus ticks in a future update. Community data from the Yum-O-Meter all lasagnas walkthroughs suggests the cap itself will not move, only the bonus curve feeding it.
What happens when every room is fully decorated?
Beyond the Bottomless Stomach achievement, the game quietly enables a small idle animation in Jon's house where Garfield roams between rooms, and the meter locks at 100% with a final visual flourish. There is no extra secret stage, but the visual change is the clearest sign you have finished the furniture layer of the game.